Are you tired of wrestling with a dull vegetable peeler, turning a simple task into a frustrating chore? A blunt peeler not only makes food preparation slower and more difficult but can also be surprisingly unsafe, as more force increases the risk of slips and cuts. But don’t despair! Before you toss that trusty tool and buy a new one, consider this: you can restore its razor-sharp edge right in your own kitchen. Learning how to sharpen your peeler at home is a sustainable and cost-effective skill that will make your time in the kitchen smoother and more enjoyable.
Why Your Peeler Needs a Refresh
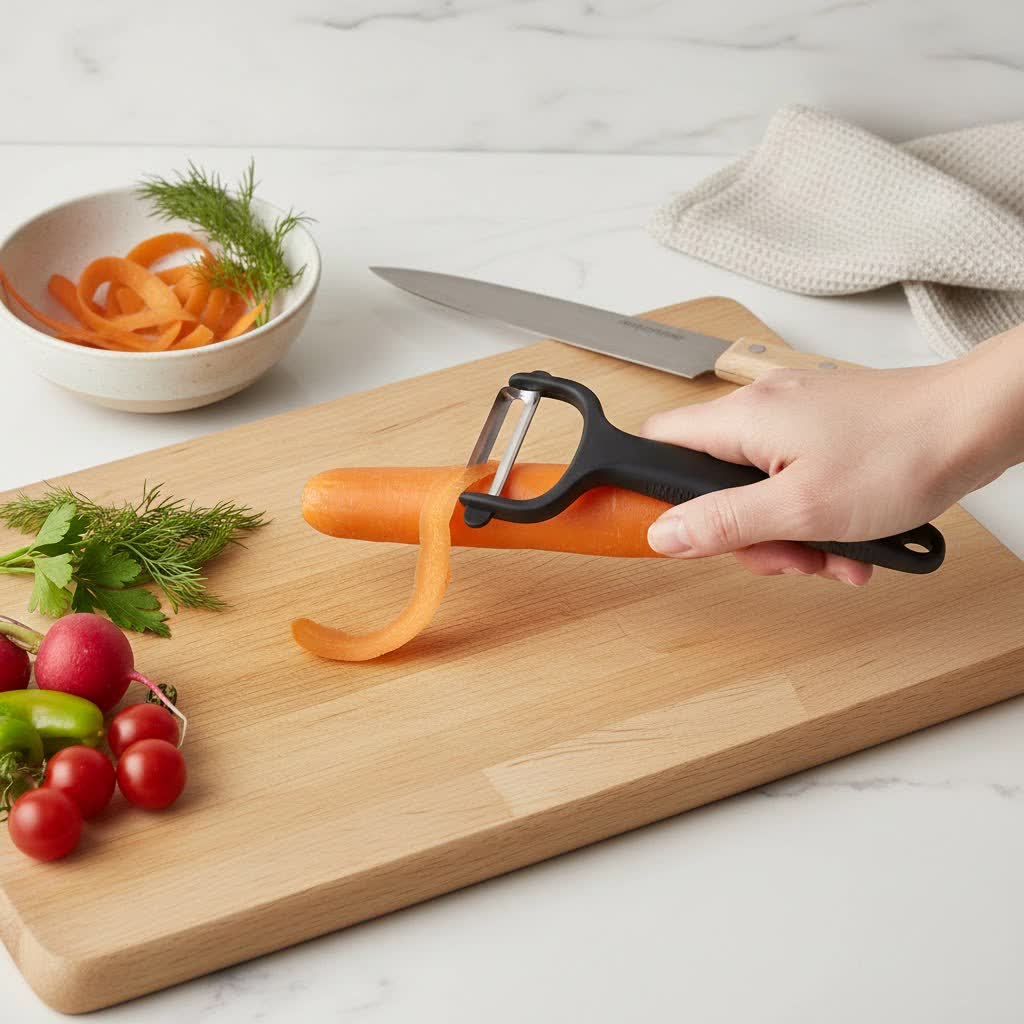
Over time, constant contact with vegetables and cutting boards inevitably takes its toll on your peeler’s blade. You’ll notice it’s dull when you have to apply excessive pressure, make multiple passes over the same spot, or find peels tearing rather than gliding off smoothly. A sharp peeler, on the other hand, makes quick work of potatoes, carrots, apples, and more, significantly reducing prep time and delivering consistently clean results. It’s a small change that makes a big difference in kitchen efficiency and safety.
Essential Tools for Home Peeler Sharpening
You might be surprised to find that many effective sharpening tools are already lurking in your home or are easily acquired.
Household Items
- Paring Knife: The unsharpened back edge of a paring knife can be used for honing a slightly dull peeler blade, realigning its edge.
- Metal Nail File / Emery Board: These common grooming tools feature abrasive surfaces perfect for carefully grinding a new edge onto a peeler.
Dedicated Sharpening Tools
- Honing Rod / Knife Steel: Often found in knife block sets, a honing rod realigns the microscopic edge of a blade, restoring its keenness without removing much metal.
- Small Sharpening Stone / Abrasive Rod: These provide a more aggressive sharpening surface for truly dull blades.
- Diamond Flat File: Known for their durability and effectiveness, diamond files can sharpen even harder steels with ease and are excellent for reaching awkward angles.
- Fine-grit Sandpaper (on a wood block): Affixing fine-grit sandpaper to a flat piece of wood or hard plastic creates a makeshift sharpening surface that’s surprisingly effective.
Step-by-Step Guide to Sharpening Your Peeler
Before you begin, it’s crucial to prioritize safety and prepare your peeler for the sharpening process.
1. Safety First: Preparing for Sharpening
Always put on a pair of cut-resistant gloves to protect your hands from accidental slips. Ensure your peeler is clean and dry. For swivel-blade peelers, which often move freely, a clever trick is to fold a piece of cardboard and tuck it under the blade. This will help keep the blade steady and prevent it from swiveling while you work, giving you greater control and safety.
2. Method 1: Using a Honing Rod or Knife Steel
This method is ideal for peelers that are only slightly dull, as it primarily realigns the blade’s edge rather than removing significant material.
- Angle: Hold your peeler firmly with one hand. Position the honing rod against the peeler blade at a shallow angle, roughly 15 to 20 degrees. The goal is to match the existing bevel of the blade.
- Technique: With light, consistent pressure, draw the honing rod along the blade several times, moving from the top of the blade towards the tip.
- Realign: For swivel peelers, you can also use the tip of the honing rod to gently push the twin blades forward, helping to realign their edges. Repeat on both sides of the blade if your peeler has two cutting edges.
3. Method 2: The Metal Nail File / Workshop File Technique
A simple metal nail file or a small workshop file can work wonders, especially for getting into the tight space between the blades of a swivel peeler.
- Positioning: Take your metal nail file and carefully insert it between the two blades of your peeler.
- Sharpening: Push the file back and forth gently, applying light pressure against the cutting edges. Focus on creating a consistent angle.
- Both Sides: If your peeler has blades on both sides, repeat the process for each. Alternatively, if using a standard file, draw it along the blade at a 15 to 20-degree angle, just as you would with a honing rod.
4. Method 3: Sharpening Stone or Sandpaper Method
For peelers that are noticeably dull and require more material removal, a sharpening stone or sandpaper offers a more abrasive solution.
- Preparation: If using sandpaper, secure a fine-grit piece (around 400-600 grit) to a flat, sturdy surface like a wood block.
- Technique: Lay the peeler blade flat against the sharpening stone or sandpaper. With light and even pressure, rub the blade back and forth across the abrasive surface.
- Consistency: Maintain a consistent angle throughout the process. For swivel peelers, you might need to focus on one blade at a time, carefully maneuvering it against the abrasive. After a few strokes, feel for a slight burr (a tiny raised edge) on the opposite side of the blade, indicating you’re removing material effectively.
> “A sharp peeler is a safe peeler. Investing a few minutes in sharpening can save you time, effort, and prevent frustrating kitchen accidents.” – Chef Antoine Dubois, Culinary Instructor & Kitchen Tool Expert
5. Advanced Method: Diamond Flat File or Dremel
For enthusiasts seeking precision or dealing with very stubborn dullness, diamond flat files or a Dremel rotary tool can be employed.
- Diamond Flat File: These files are excellent for reaching tight spots on any peeler style. Simply stroke across the blades with gentle, even pressure. A few strokes are usually sufficient to restore a keen edge. Remember the cardboard trick for stabilizing swivel blades.
- Dremel with Ceramic Round Tip: For experienced users, a Dremel tool fitted with a ceramic round tip can be run along both cutting edges. Exercise extreme caution and light pressure to avoid damaging the blade.
Post-Sharpening Care and Testing
Once you’ve sharpened your peeler, a few final steps will ensure it’s ready for action and stays sharp longer.
- Cleaning the Blade: Carefully wipe the blade with a clean dishtowel to remove any tiny metal bits or burrs created during sharpening. These microscopic particles can contaminate food if not removed.
- Deburring: If you felt a burr during sharpening, gently remove it. For accessible blades, you can lightly stroke the backside of the blade against your sharpening tool. For swivel peelers, a soft piece of wood like a chopstick can be run through the slit along the blade to effectively deburr without damaging the new edge.
- Testing Sharpness: The ultimate test is how it performs on a vegetable. A truly sharp peeler should effortlessly glide through a potato or carrot skin, creating thin, continuous strips with minimal effort. You can also try the “paper test” – a sharp blade should slice cleanly through a sheet of paper.
When Not to Sharpen: Ceramic and Serrated Blades
It’s important to recognize that not all peelers are suitable for home sharpening.
- Ceramic Blades: These blades are incredibly hard and retain their sharpness for a very long time. However, if they do dull or chip, they require specialized diamond sharpening tools or professional service. Attempting to sharpen them with standard methods can damage them.
- Serrated Blades: Serrated peelers, designed for softer skins like tomatoes, have a toothed edge that cannot be sharpened using the flat abrasive methods described above. These usually require specialized serrated knife sharpeners or replacement when dull.
If you own one of these specialized peelers, it’s often more practical to replace them or seek out a professional sharpening service if available.
Peeler Maintenance Tips
Beyond sharpening, good maintenance habits can significantly extend the life and sharpness of your peeler.
- Proper Cleaning: Always wash your peeler immediately after use. Food residue can corrode blades over time. Hand-washing is generally preferred over dishwashers, which can dull blades faster due to harsh detergents and high heat.
- Storage: Store your peeler in a way that protects its blade from impact. A utensil drawer where it can clang against other metal objects will dull it quickly. Consider a drawer organizer or a magnetic strip.
- Regular Honing: For steel peelers, a quick pass on a honing rod every few uses can keep the edge aligned and delay the need for full sharpening.
Conclusion
A sharp vegetable peeler is an indispensable ally in the kitchen, transforming daunting prep tasks into quick, satisfying experiences. By understanding the simple techniques and readily available tools, you can easily revitalize your dull peeler blades at home. This not only saves you money but also promotes a more sustainable approach to your kitchen tools. So, grab your gloves and your chosen sharpening tool, and get ready to experience the joy of effortless peeling once again. What’s your go-to method for keeping your peelers perfectly sharp?
Frequently Asked Questions
How often should I sharpen my vegetable peeler?
The frequency depends on usage. For average home cooks, sharpening every few months or as soon as you notice increased effort in peeling is a good practice. Regular honing can extend the time between full sharpenings.
Can I sharpen ceramic peelers?
No, ceramic peelers require specialized diamond sharpening tools or professional service. Attempting to sharpen them with typical methods like honing rods or files will likely damage the blade. It’s often more practical to replace them if they become dull or chipped.
What’s the best angle for sharpening a peeler?
For most steel vegetable peelers, an angle between 15 and 20 degrees is generally recommended. This angle helps create a sharp, durable edge suitable for various vegetables. Maintaining a consistent angle throughout the sharpening process is key to achieving the best results.