Tired of expensive, air-filled bags of store-bought veggie chips that disappoint in crunch and flavor? Imagine crafting perfectly crisp, delicious vegetable chips right in your own kitchen with a tool you already own: a simple peeler. Making your own veggie chips offers a healthier, more cost-effective alternative to commercial varieties, giving you full control over ingredients and seasonings. This guide will transform humble vegetables into irresistible snacks, proving that gourmet taste is just a peel away.
Choosing Your Vegetables for Peeler Perfection
The secret to exceptional homemade veggie chips begins with selecting the right vegetables. For peeler-made chips, dense, firm root vegetables are your best allies, as their structure allows for thin, uniform slices that crisp up beautifully.
- Top Picks: Sweet potatoes, beets (red, golden, candy stripe), parsnips, carrots, and yams are ideal. Their natural sweetness intensifies when cooked, creating a delightful flavor profile that rivals traditional potato chips. These vegetables hold their shape well and provide a satisfying crunch.
- Less Suitable Choices: While many vegetables can be turned into chips (like leafy greens such as kale or Brussels sprouts), a peeler isn’t the primary tool for them. Watery vegetables like zucchini or cucumber are also challenging for peeler-based chips as their high moisture content makes achieving crispiness difficult without specific pre-treatment like battering and breading.
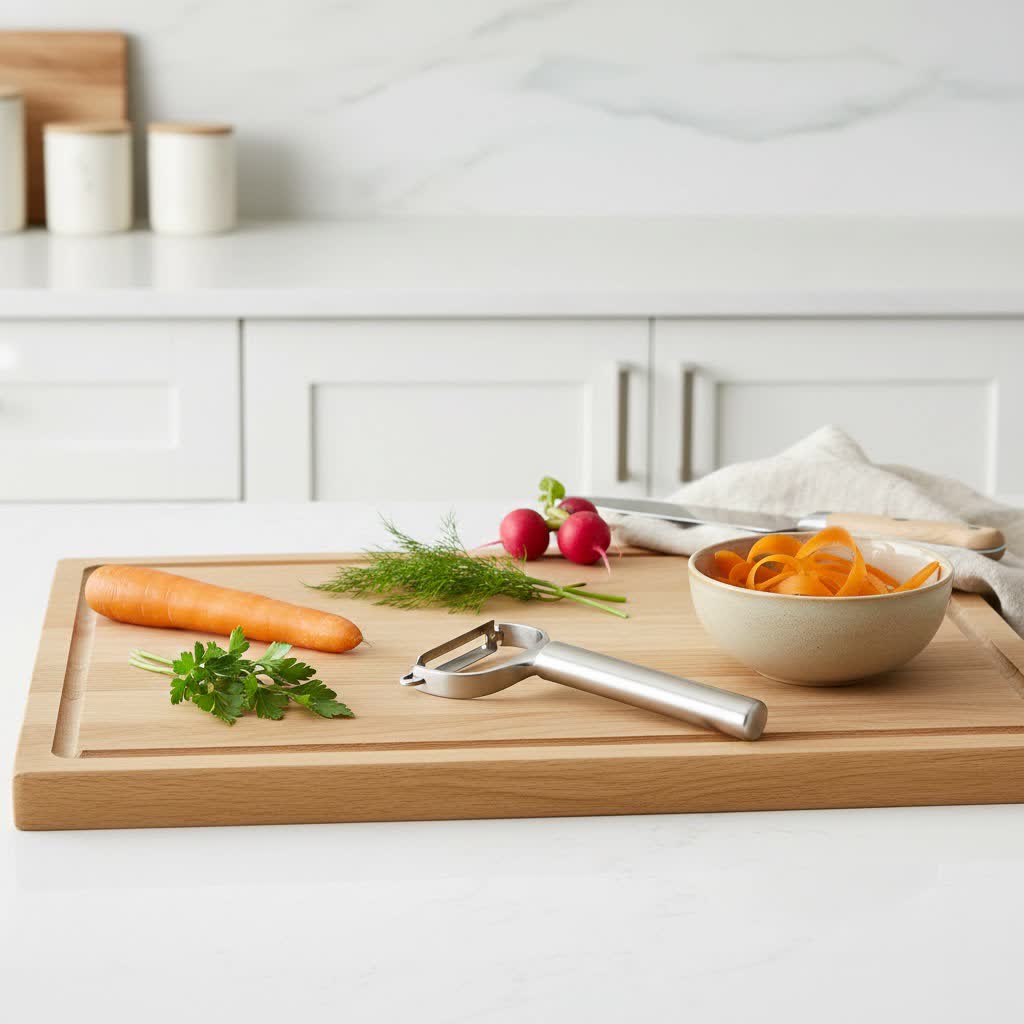
The Peeler: Your Essential Tool for Uniform Slices
A standard vegetable peeler is a remarkably effective and often underestimated tool for creating paper-thin vegetable slices. The key to crispy chips lies in the uniformity and thinness of your slices, allowing them to cook evenly and achieve that coveted crunch.
- Importance of Thinness: Slices that are too thick will remain chewy or soft, while inconsistent thickness leads to some burning before others are cooked through. Aim for slices no thicker than 1/16 inch (1.6 mm).
- Effective Peeling Technique:
- Create a Flat Surface: For cylindrical vegetables like carrots or parsnips, slice off a small edge to create a flat side. This provides a stable base for your peeler, ensuring straighter, more consistent ribbons.
- Long, Even Strokes: Hold the vegetable firmly and use long, steady strokes with your peeler along its length. Apply gentle, even pressure to produce delicate, uniform ribbons.
- Peeler Types: While any sharp peeler can work, a Y-peeler is often preferred for longer root vegetables. Its design allows for a natural, sweeping motion that makes producing long, even strips easier and more efficient.
Pre-Cooking Preparation for Ultimate Crispiness
Proper preparation is paramount to achieving perfectly crispy veggie chips. These steps focus on minimizing moisture and preparing the vegetables for optimal cooking.
- Washing and Drying Thoroughly: After peeling your chosen vegetables, wash them under cold water. Crucially, dry them as thoroughly as possible. Excess moisture will steam the vegetables instead of crisping them up during cooking. Pat them vigorously with paper towels until visibly dry. For leafy greens (if you’re making them separately), a salad spinner is excellent, followed by patting dry.
- Starch Removal (for Potatoes & Sweet Potatoes): For starchy vegetables like potatoes and sweet potatoes, an extra step dramatically improves crispiness. Soak the thin slices in a bowl of cold water for 10-20 minutes. This helps release excess starch that would otherwise hinder moisture evaporation. After soaking, rinse the slices under cold running water until the water runs clear, then drain them well and pat them completely dry. Some suggest “sweating” root vegetables with a sprinkle of salt to draw out moisture before drying.
- Oiling & Seasoning: Lightly coat your dried vegetable slices with a small amount of oil (e.g., olive oil for baking, coconut oil for frying) and your desired seasonings. A gentle toss in a bowl or a light spray ensures even coverage. For root vegetables like beets, if you’re mixing them with other lighter-colored vegetables, consider seasoning them in a separate bowl to prevent discoloration.
Cooking Your Homemade Veggie Chips
There are two primary methods for cooking homemade veggie chips: oven-baking for a healthier option or deep-frying for a classic, rich crunch. Both require careful attention to temperature and placement.
Oven-Baked Method: A Healthier Crunch
Oven-baking is a fantastic way to create crispy veggie chips with less oil, making them a lighter snack.
- Equipment: You’ll need baking sheets, preferably lined with parchment paper or using an oven rack. Parchment paper and oven racks allow moisture to escape, unlike foil or direct baking sheets, which can trap steam.
- Temperature & Time: The key to oven-baked crispiness is “low and slow.” Preheat your oven to a low temperature, typically around 200°F (95°C). Bake for about 30 minutes, then increase the temperature slightly to 220°F (105°C) and continue baking for another 30 minutes. Baking times can vary depending on vegetable thickness and oven calibration, so vigilance is important.
- Arrangement: Arrange the seasoned vegetable slices in a single layer on your prepared baking surface. Critically, ensure none of the slices are touching. Overcrowding will lead to steaming rather than crisping. Rotate the baking sheet halfway through to ensure even cooking.
- Post-Bake: As your chips approach readiness, keep a close eye on them, especially after the 45-minute mark, as they can burn quickly. Once golden and firm, remove them from the oven and allow them to cool completely on the baking sheet or a wire rack. Cooling is essential, as chips will firm up and become even crispier as they come to room temperature.
|
Our Picks for the Best Peeler in 2026
As an Amazon Associate I earn from qualifying purchases.
|
||
| Num | Product | Action |
|---|---|---|
| 1 | Kuhn Rikon Original Swiss Peeler 3-Pack Red/Green/Yellow |

|
| 2 | 2PCS Premium Vegetable Peeler with Wooden Handle and Bottle Opener, Multi-Functional Vegetable Peeler, Stainless Steel Blade Kitchen Tool for Fruit |
|
| 3 | Linden Sweden Original Jonas Vegetable Peeler - Rust Resistant Silver Carrot and Potato Peeler with Ergonomic Handle for Safety and Control - Dishwasher Safe and Compact - Made In Sweden - 6.5in |
|
| 4 | OXO Good Grips Y-Peeler |
|
| 5 | Spring Chef Premium Swivel Vegetable Peeler, Soft Grip Handle and Ultra Sharp Stainless Steel Blades - Perfect Kitchen Peeler For Veggie, Fruit, Potato, Carrot, Apple - Black |
|
| 6 | KitchenAid Classic Euro Peeler, 8.6 inches, Black |
|
| 7 | FUHUY Vegetable, Apple Peelers for kitchen, Fruit, Carrot, Veggie, Potatoes Peeler, Y-Shaped and I-Shaped Stainless Steel Peelers, with Ergonomic Non-Slip Handle & Sharp Blade, Good Sturdy (2PCS) |
|
| 8 | Rainspire Vegetable Peeler Potato Peelers for Kitchen, Sharp Stainless Steel Blades Veggie, Comfortable Handle Fruit Peeler, Carrot Peeler Apple Peeler Dishwasher Safe Black, 1-Pack |
|
| 9 | OXO Good Grips Swivel Peeler |
|
| 10 | TACGEA Vegetable Peeler for Kitchen, Potato Peelers for Fruit Straight Blade, Durable Non-Slip Handle, Set of 2 |
|
Deep-Fried Method: The Classic Crispy Finish
Deep-frying delivers a consistently crispy and satisfyingly rich veggie chip, reminiscent of your favorite potato crisps.
- Oil Selection: Choose an oil with a high smoke point, such as coconut oil, canola oil, or vegetable oil. Coconut oil, particularly expeller-pressed, is a good choice as it offers a neutral flavor and handles high temperatures well.
- Temperature Control: Heat your oil in a deep fat fryer or a high-sided pan, half-filled, to approximately 190°C (375°F). An easy test for readiness: a small cube of bread should brown in about 20 seconds. Avoid letting the oil smoke, as this indicates it’s too hot and can produce carcinogens.
- Frying Technique: Gently lower a small batch of sliced vegetables into the hot oil using a slotted spoon. Frying in batches is crucial to maintain oil temperature and prevent the chips from clumping. Stir gently to ensure even cooking and separation. Fry until golden brown. The oil may turn a butter yellow color when frying carrots, indicating the sugars are caramelizing.
- Draining & Seasoning: Once golden, remove the chips with a slotted spoon and immediately transfer them to a plate or basket lined with several layers of kitchen paper or a cloth to absorb excess oil. Shake gently to further remove oil, then season immediately with salt (such as Celtic or Himalayan sea salt) or other desired spices while still warm.
Expert Tips for Flawless Veggie Chips
Achieving consistently perfect veggie chips requires a few expert insights to maximize their potential for crispiness and flavor.
- Consistency is Key: The more uniform your slices, the more evenly they will cook. Invest in a good peeler and practice your technique for consistent thickness. This prevents some chips from burning while others remain undercooked.
- Avoid Overcrowding: Whether baking or frying, giving your vegetable slices enough space is non-negotiable. Overcrowding lowers oil temperature in frying and creates steam in the oven, both leading to soggy rather than crispy results. Cook in small batches.
- Season After Cooking (Mostly): While a light oil and seasoning mix before baking is good, the primary seasoning, especially salt, is best applied immediately after the chips are removed from the heat. This ensures the seasoning adheres well and doesn’t interfere with the crisping process.
- Embrace Cooling Time: Many chips achieve their final crispness as they cool. Don’t be discouraged if they feel slightly soft right out of the oven or fryer. Give them a few minutes to cool completely on a rack or paper towels, and you’ll notice a significant change in texture.
Common Pitfalls to Sidestep
Making homemade veggie chips is rewarding, but a few common mistakes can hinder your success.
- Slicing Too Thick: This is the most frequent culprit behind chewy or soft chips. Thicker slices retain too much moisture and take significantly longer to crisp, often resulting in burning before they become fully dry.
- Insufficient Drying: Any remaining moisture on the vegetable slices will turn into steam during cooking, preventing them from achieving a desirable crispy texture. Always pat them thoroughly dry.
- Overcrowding the Oven/Fryer: As mentioned, this leads to uneven cooking, steaming, and soggy results. Patience with batches is a virtue here.
- Too High Temperature: While tempting to speed up the process, excessively high temperatures can quickly burn the edges of thin vegetable slices while the centers remain soft. Opt for moderate heat and watch closely.
- Forgetting to Season: Unseasoned chips, no matter how crispy, lack flavor. Season immediately after cooking for the best taste.
Storing Your Crispy Creations
Once cooled, store your homemade veggie chips in an airtight container at room temperature. Properly dried and cooked chips can remain crispy for up to a week, or even longer in less humid environments. If your chips lose some of their crispness over time, a quick refresh in a warm oven (around 200°F/95°C) for a few minutes can often revive their crunch.
Conclusion
Making delicious, crispy veggie chips with a simple peeler is an incredibly satisfying culinary endeavor. From the vibrant hues of sweet potato and beet chips to the earthy notes of parsnip and carrot crisps, your peeler is your gateway to a world of healthy, flavorful snacking. By selecting the right vegetables, mastering your slicing technique, and paying attention to crucial preparation and cooking steps, you can consistently achieve that perfect, addictive crunch. So, grab your peeler, choose your favorite vegetables, and start creating wholesome, homemade delights that everyone will love. What delicious veggie chips will you create first?
Frequently Asked Questions
What vegetables work best with a peeler for chips?
Root vegetables such as sweet potatoes, beets, parsnips, carrots, and yams are excellent choices. Their firm, dense flesh allows for consistent, thin ribbon-like slices which are ideal for crisping.
How thin should I slice my vegetables?
For optimal crispiness and even cooking, aim for slices no thicker than 1/16 inch (1.6 mm). Thinner slices will dehydrate and crisp up much more effectively than thicker ones.
Why aren’t my homemade veggie chips crispy?
The most common reasons for soft chips include slices being too thick, insufficient drying before cooking, overcrowding the oven or fryer, or cooking at too high a temperature which burns the outside before the inside is dry.
Can I make these chips without oil?
While a small amount of oil helps with even cooking and texture, you can significantly reduce or even eliminate oil, especially when oven-baking. Ensure vegetables are sliced very thinly and completely dry, then monitor closely during baking.
How long do homemade veggie chips last?
When stored in an airtight container at room temperature, properly made and cooled homemade veggie chips can remain crispy for about one to two weeks, depending on humidity levels. If they soften, a brief reheat in a warm oven can often restore their crunch.